


How Long Does Loft Boarding Take? What to Expect on Installation Day
If you are thinking about loft boarding, you are probably wondering how long the installation will take and what the process looks like from start to finish. The good news is, most homeowners are pleasantly surprised by how quick and smooth the experience is. A typical installation is completed within one day for standard-sized properties, and the process is carefully designed to protect your home, maintain safety standards and deliver a professional finish.
Our teams are also available throughout the day to answer questions, explain what they are doing and involve you in the process if you wish. Many customers say this open communication is one of the reasons they feel confident and reassured during their installation.
Here is a step-by-step guide to what happens on installation day.
1. Arrival and home protection
The team begins by protecting your home. Dust sheets are laid throughout; carpet protectors are positioned on walkways, and stair rods are fitted to prevent movement. This attention to detail helps ensure your floors and furnishings remain protected throughout the installation.
2. Pre-install checks.
Before any work begins, the installers complete a series of checks to ensure it’s safe to go ahead. This includes:
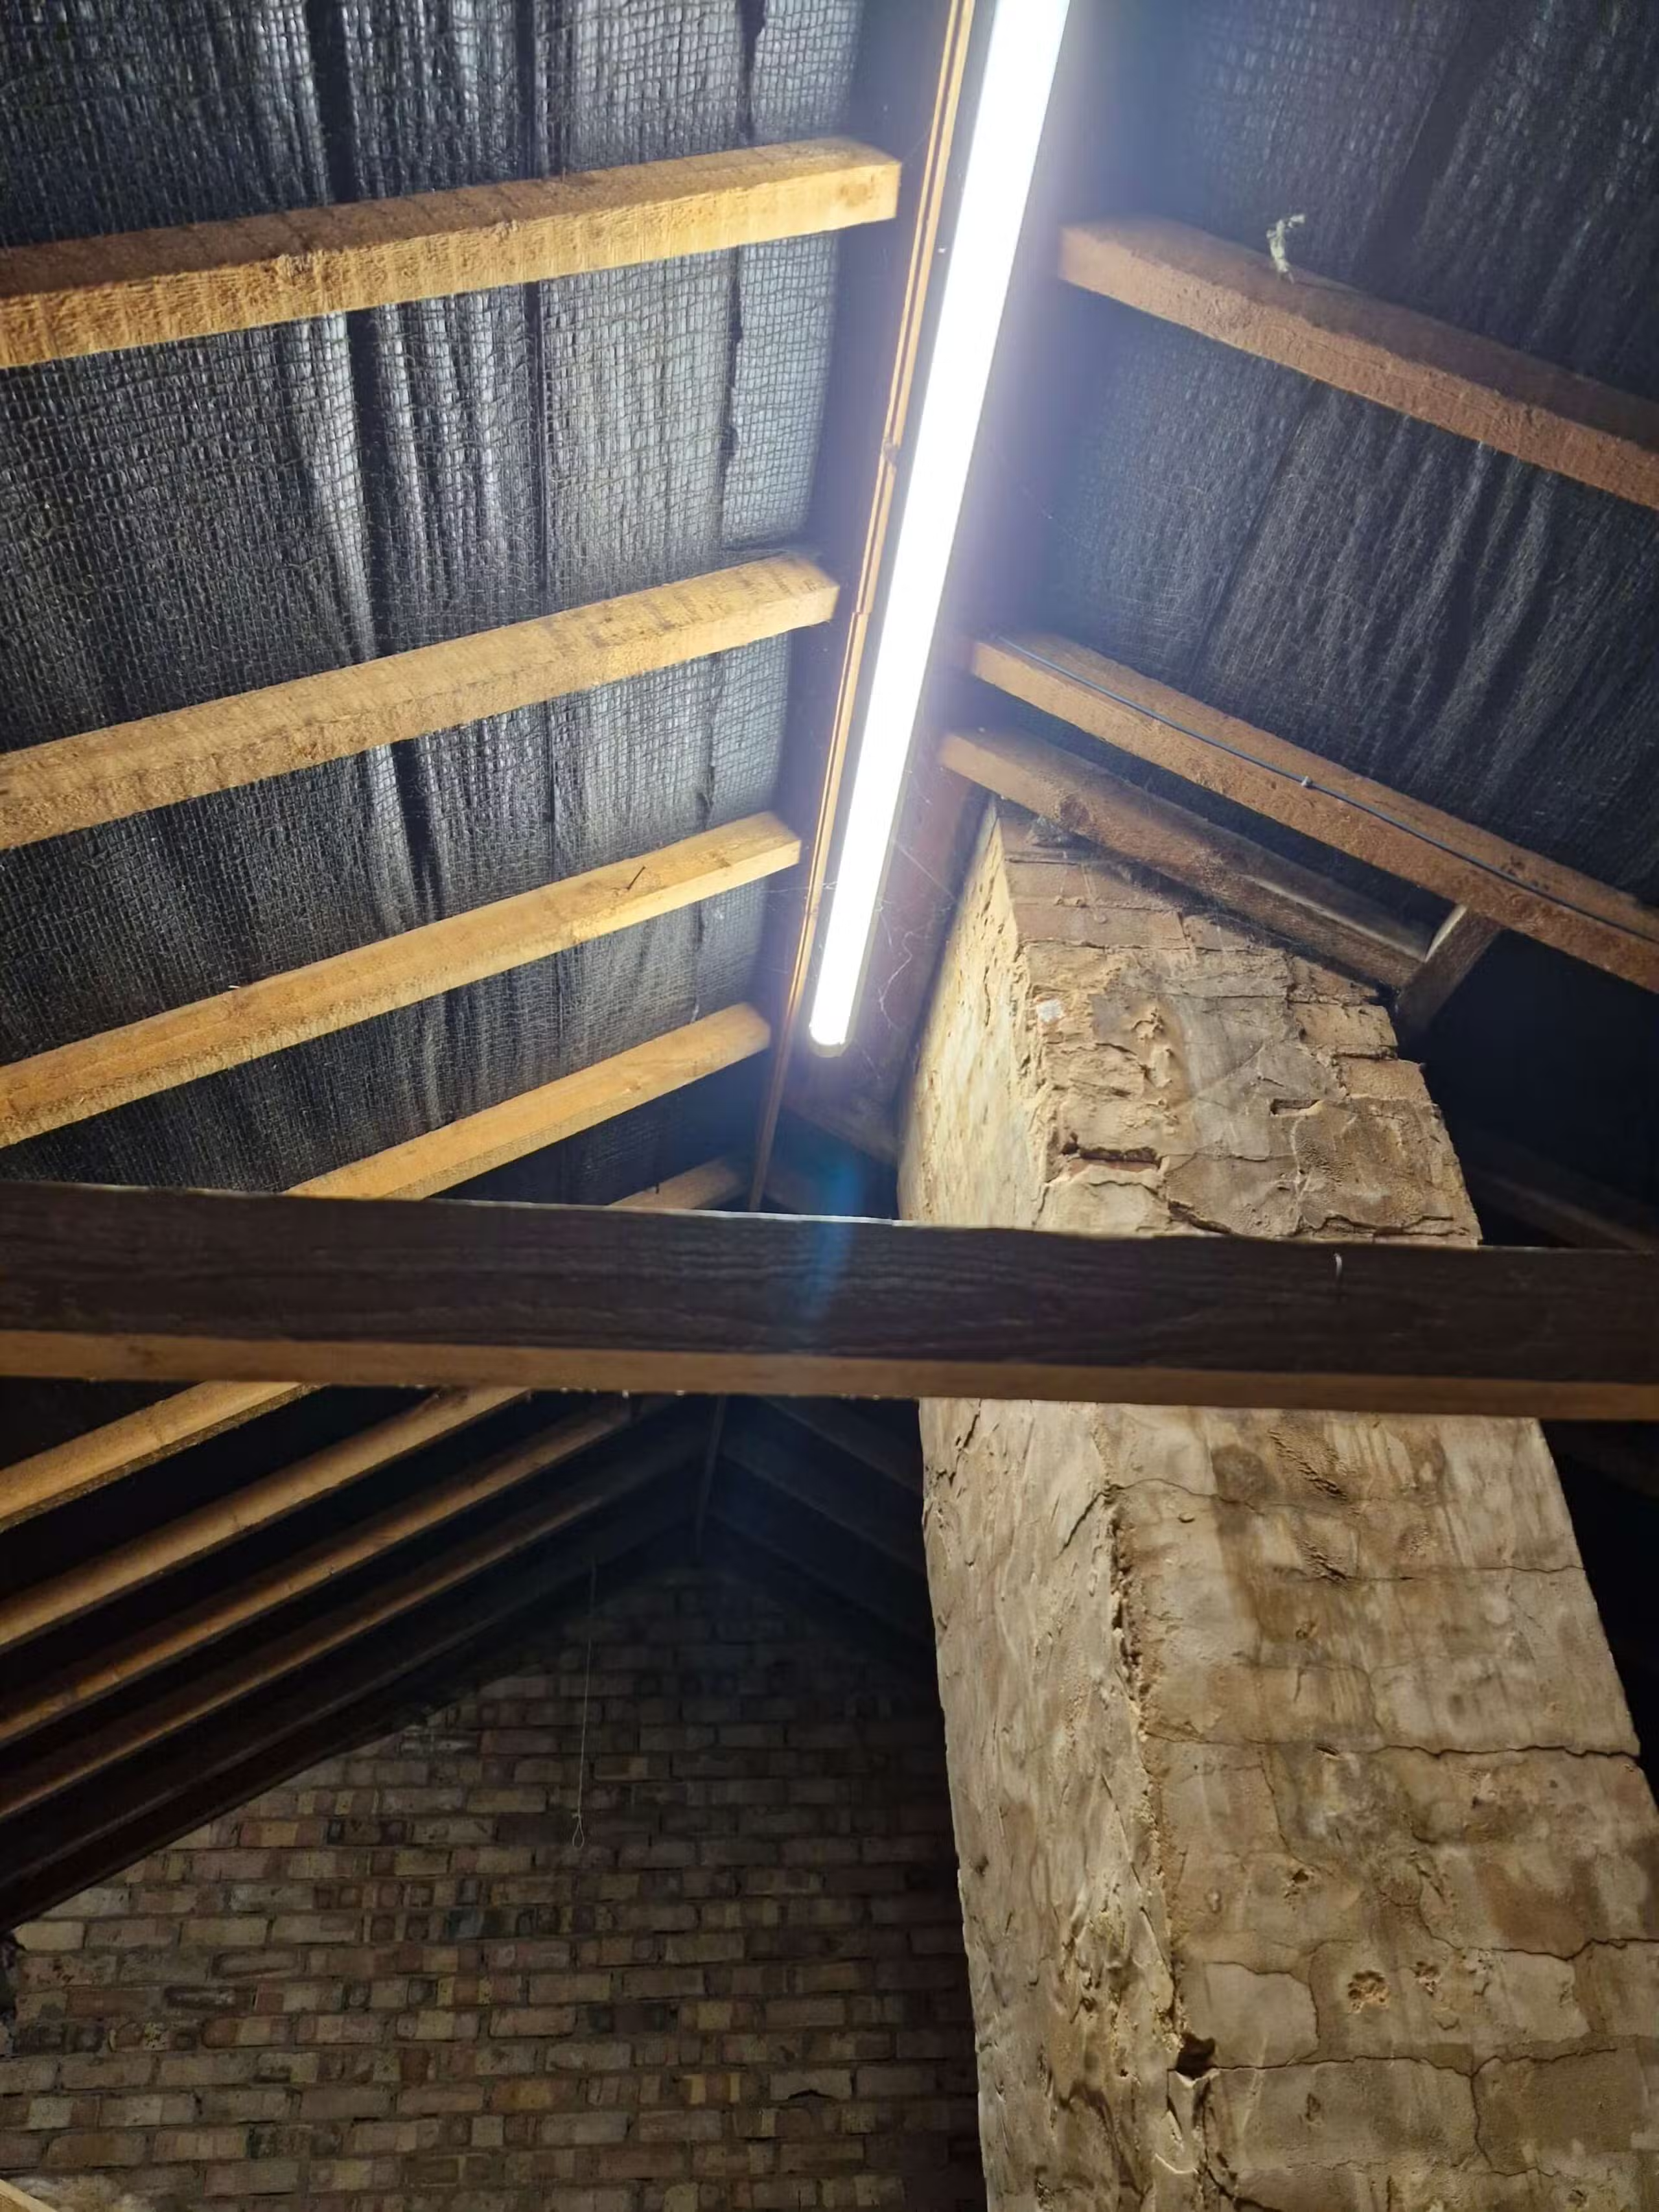
• A detailed loft inspection before we start work
• A risk assessment to confirm safe working conditions
These steps help confirm that the loft is ready for boarding and that the process will meet safety and quality expectations.
3. Preparing the loft (if required)
If your loft needs additional preparation, it will be carried out at this stage. This may include:
• Insulation removal or adjustment in specific areas
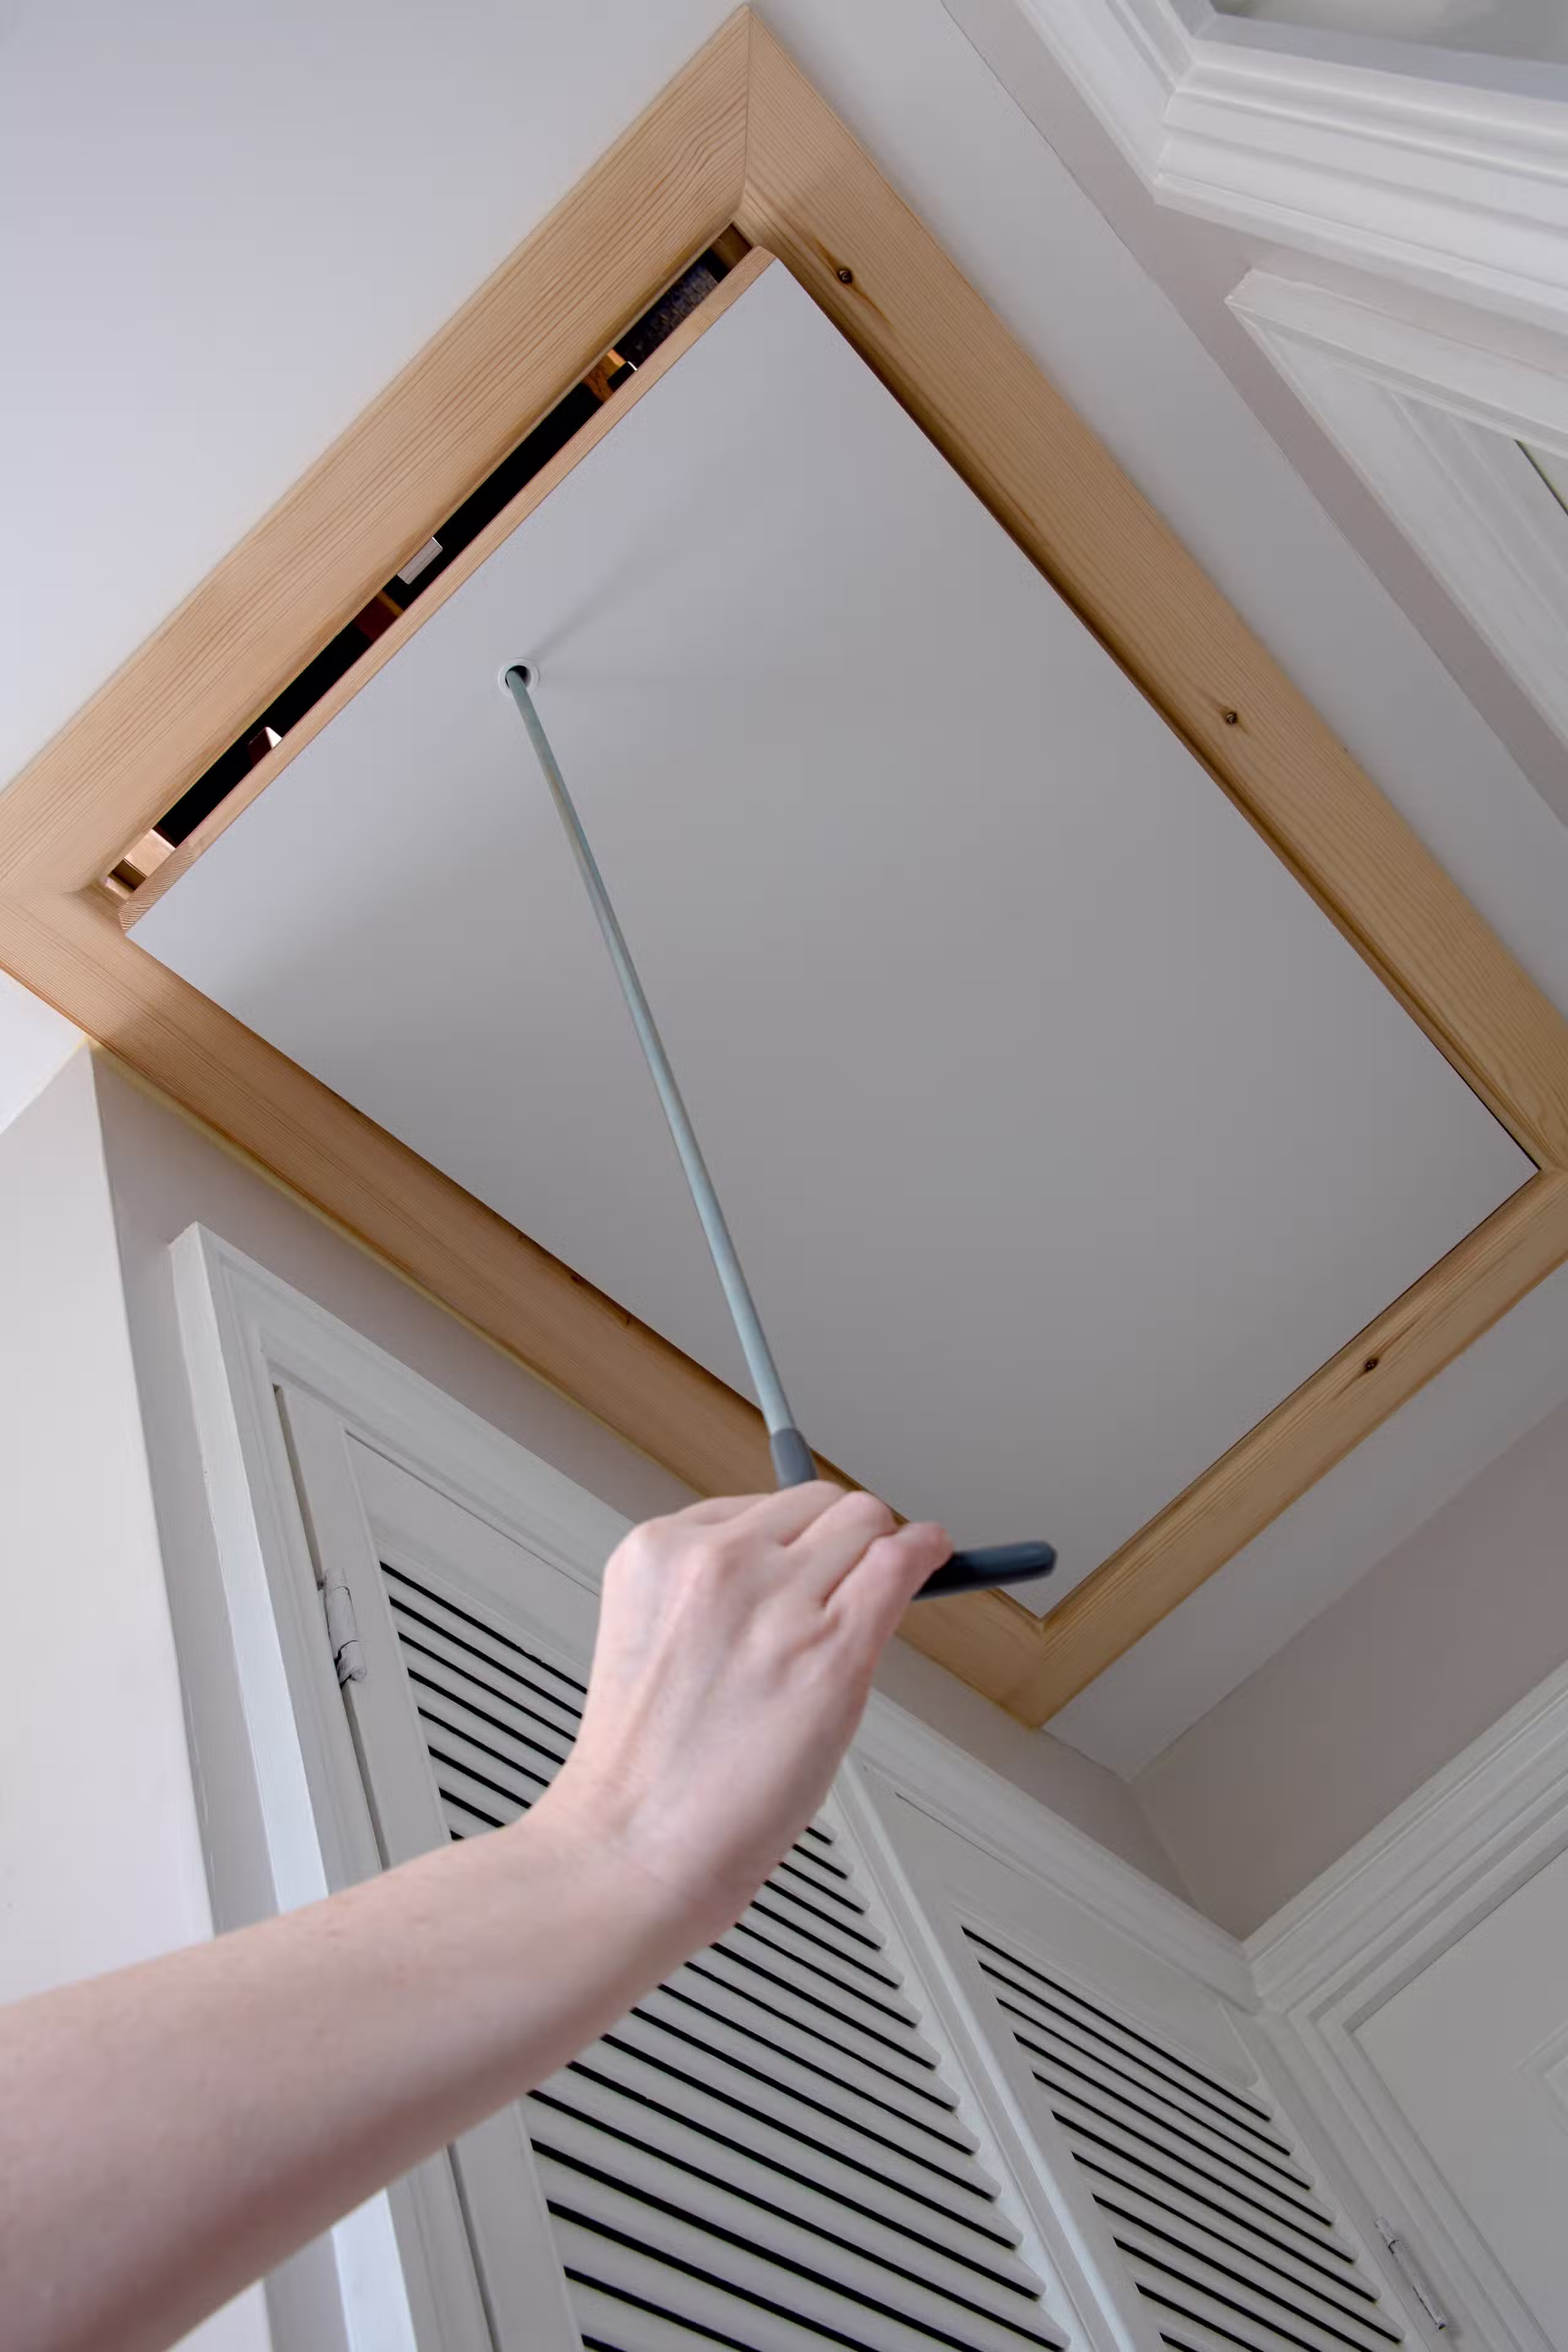
• Enlarging the loft hatch to improve access or meet safety standards
Not every home will require this, but when it is needed, our team handle these steps with professionalism and efficiency.
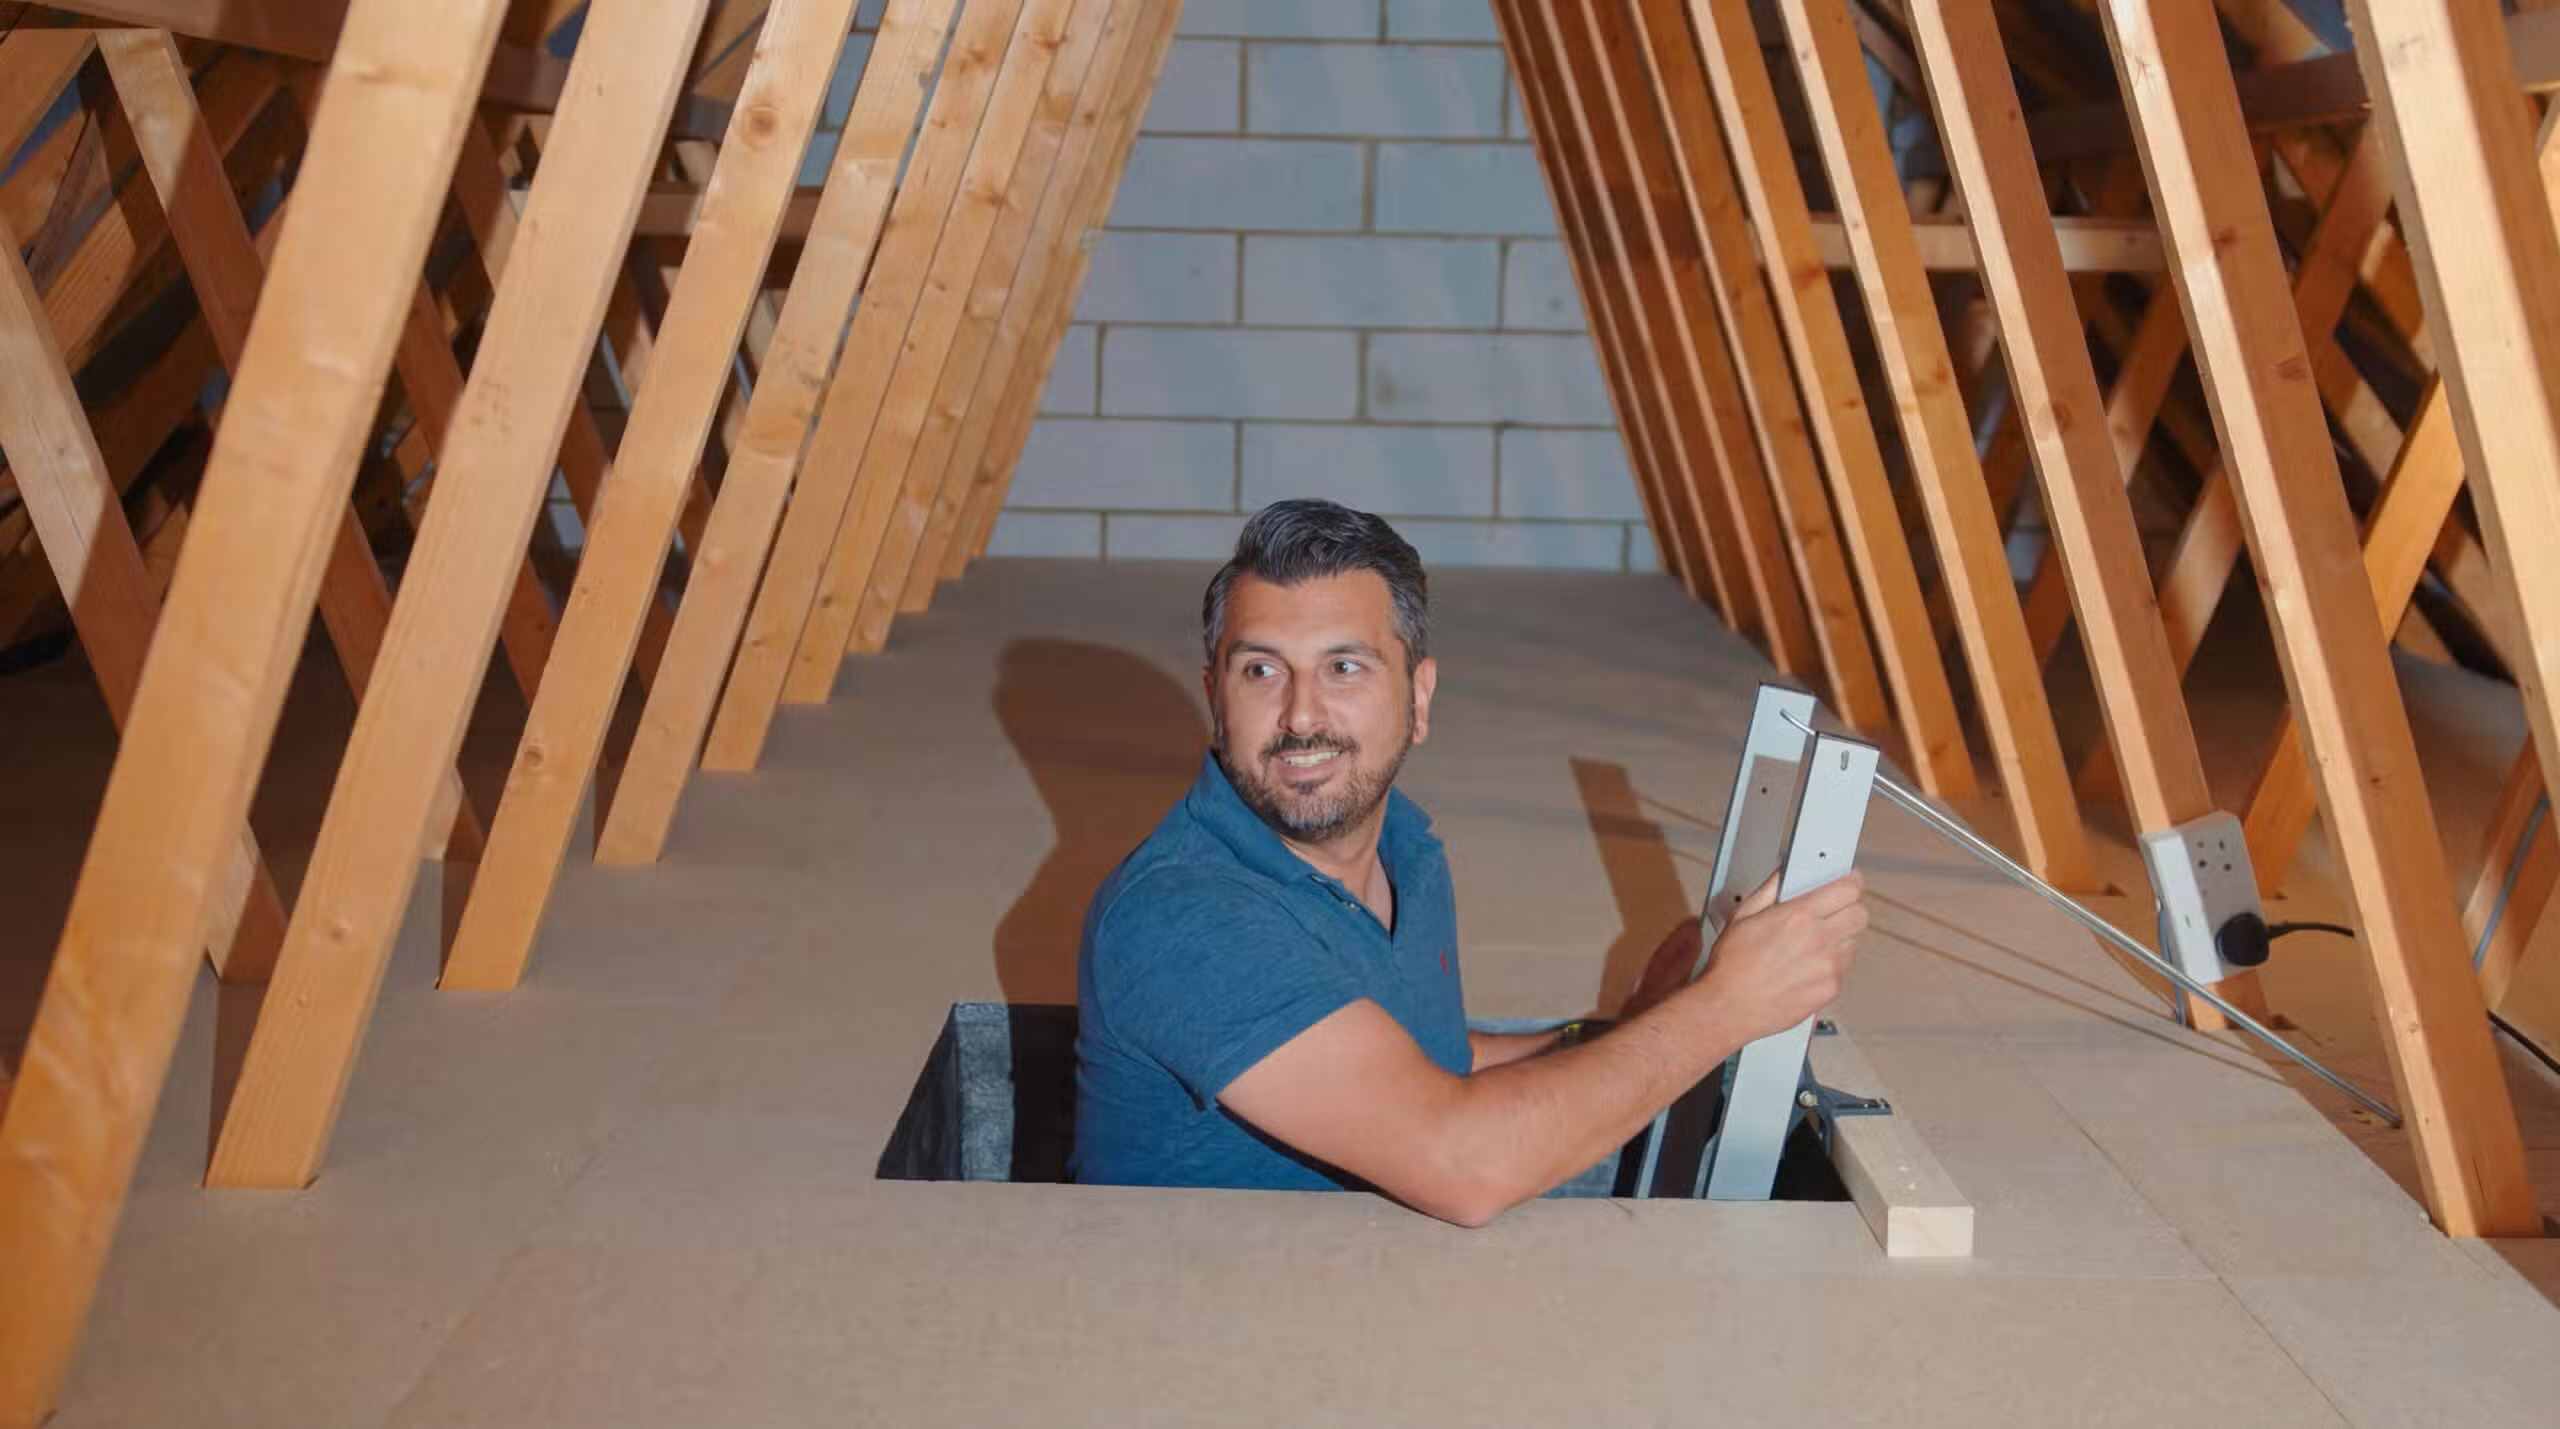
4. Installation of the LoftZone raised system and user-friendly ladder
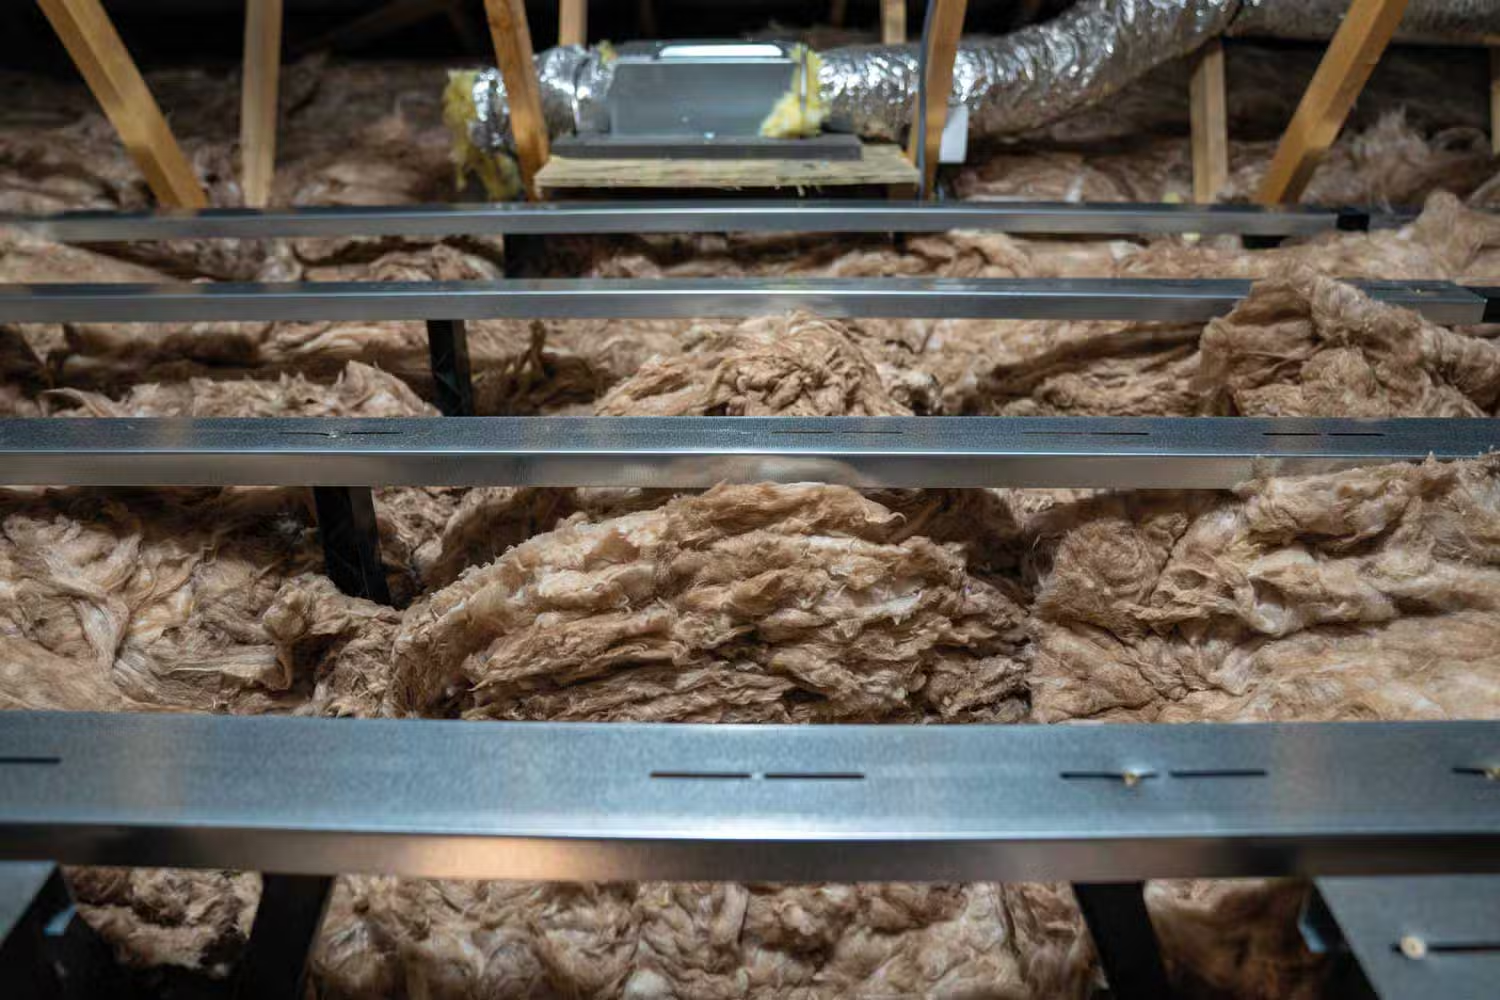
This is the main stage of the day, and the moment your loft becomes a safe and functional space! The raised loft system is installed to create a strong and stable platform above your insulation, using engineer-grade plastic supports and galvanised steel beams. The raised structure protects insulation depth, allows airflow and forms the base for your new storage area.
Once the framework is complete, the loft boards are fitted securely to create a smooth, level surface. During this stage, your new loft ladder is also installed. Having been selected specifically for your home and your requirements, the ladder is fitted seamlessly alongside the raised boarding system to provide safe, easy access to your upgraded loft space.
5. Finishing touches for a professional look
To ensure the loft looks neat and well finished, the area around the hatch is lined. This gives the entrance to your loft a clean, polished appearance and helps the whole installation feel like a natural extension of your home.
6. Clean up and home protection
Before the installers leave, we ensure all mess created during the process is tidied. This includes:
• Removing all dust sheets and carpet protectors
• Hoovering any areas used throughout the installation
• Ensuring your loft and landing are left tidy
Most customers are surprised at how clean the process is.
7. Customer sign off
Once the installation is complete, the team takes post-install photos for internal quality checks. Finally, the installer will walk you through the finished loft and ask you to sign to confirm that you are happy with the work.
Ready to transform your loft?
If you are looking for a quick, clean and professional way to create more usable space in your home, raised loft boarding is a simple and effective upgrade. Contact our team for advice or a free quote and discover how straightforward installation can be.